Debra’s Eco-friendly Floral Design Techniques
| I hope you find these tips, resources and techniques helpful!Many are also featured in The 50 Mile Bouquet: Seasonal, Local and Sustainable Flowers, with photographs by David Perry.A BONUS: Learn more about the local flower movement and watch “Organic Flower Power,” an episode that we filmed last summer with Joe Lamp’l, host of “Growing a Greener World,” a cool PBS television program. Click here to watch. |
|
Gotta Love Local Flowers!
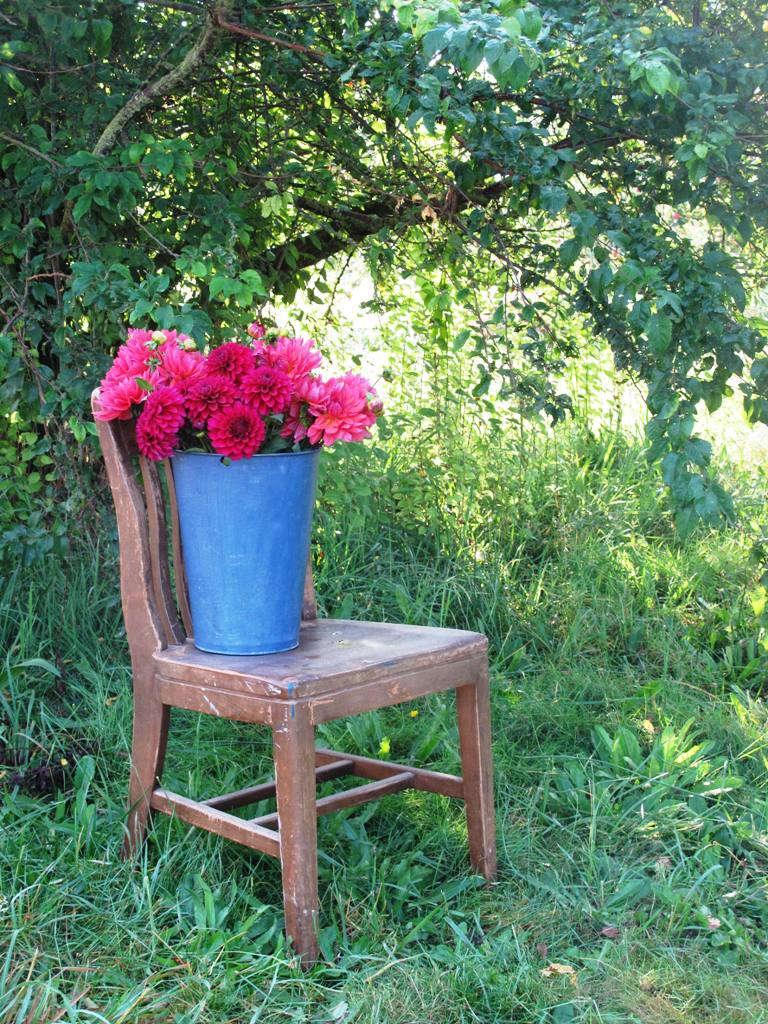
It’s so rewarding to share flowers grown by farmers we love. I photographed these just-picked dahlias at Jello Mold Farm in Mount Vernon, Washington. You can purchase flowers direct from this farm at the Seattle Wholesale Growers Market cooperative. Public hours: 10 a.m. to 2 p.m., Fridays. |
 Eco-Design Techniques Eco-Design TechniquesI’ve made it a personal goal to use organic methods to stabilize flower stems rather than use the conventional green foam block called “florist’s Oasis.” That product, I have learned, is a carcinogen that contains formaldehyde (why would you want to touch or breath it?); and furthermore, it does not break down in landfills. So far, there really isn’t an organic alternative to this product. Yet increasingly, I meet and learn from floral designers who consciously shun the green foam and use alternate materials to stabilize flower stems. Here are a few options:
Here is a link to my interview with Pam Zsori of ink & peat, a Portland floral studio. She discusses why she doesn’t use Oasis, or floral foam. |
 |
|
NEWS for flower lovers and DIY floral designers
Announcing the release of my next book:
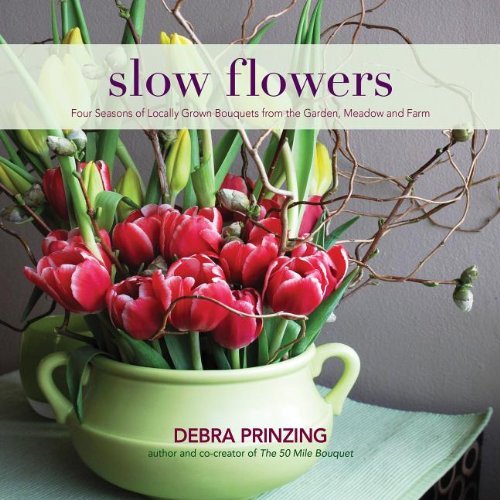
Slow Flowers: Four Seasons of Locally Grown Bouquets from the Garden, Meadow and Farm
Slow Flowers is my personal journey through 52 weeks of the year, as I harvested, sourced and created one bouquet each week – in all four seasons. My photographs of each arrangement are accompanied by detailed ingredient lists and design tips. Publication date is February 2013. Pre-order your copy now~ |


