Shutters, stylish and succulent-filled
November 13th, 2011
Last year I blogged about finding a set of half-circle shutters at a vintage sale. I wanted to emulate my friend Baylor Chapman’s succulent-planted shutters that grace her outdoor terrace in San Francisco. Since then, a few folks have emailed to ask if I EVER finished that project? Much to my embarrassment, those dusty shutters sat in the garage, untouched for nearly a year!
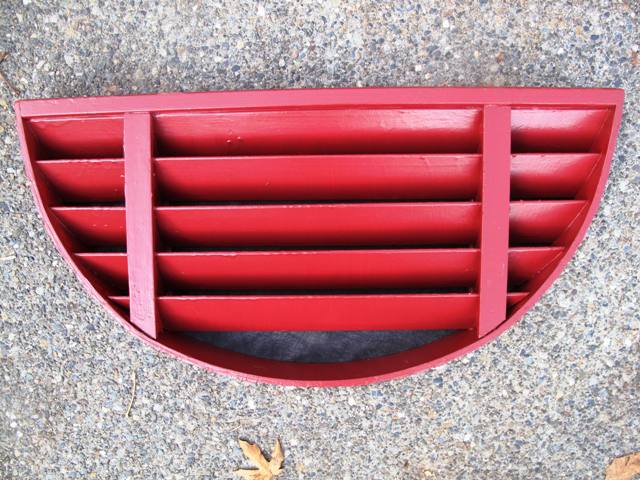
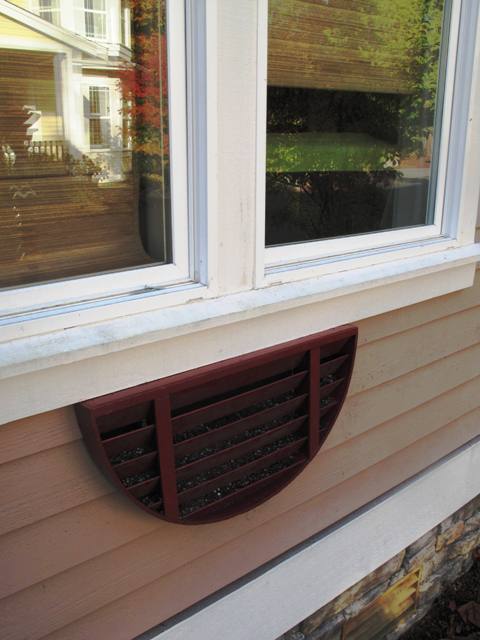
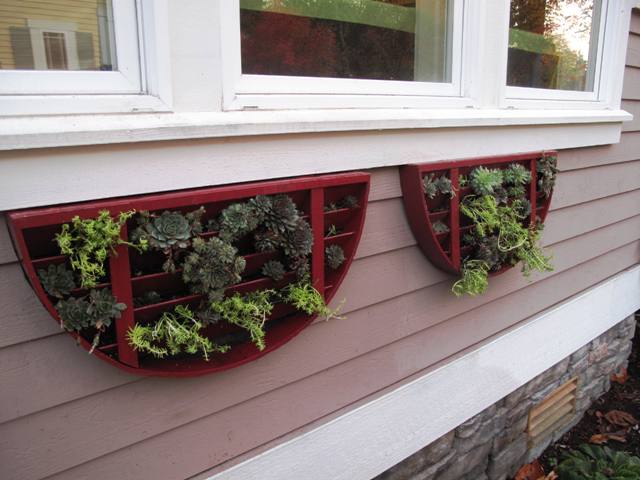
But finally, now that we’ve settled into a permanent residence, I’ve been able to work on this project. The shutters have been cleaned and given three coats of exterior paint. To turn them into vertical succulent planters I mounted both pieces with wood screws outside my office windows and then stuffed the openings betweeen each slat with sedums and sempervivums. Let’s see how they look:

Step one: Paint the shutters. I used semigloss acrylic berry-red, the paint used for my home's exterior trim


November 13th, 2011 at 10:29 pm
LOVE it!
November 14th, 2011 at 9:19 am
Love Love Love it Debra! The shape, amazing….and bright red too. Someday I hope to come visit you ~ meanwhile, I’ll continue to enjoy all those whom you write about ~ including yourself. thank you for keeping me abreast of so many interesting topics in the land of flowers and plants.
Baylor, YOU are my inspiration!
November 14th, 2011 at 10:57 pm
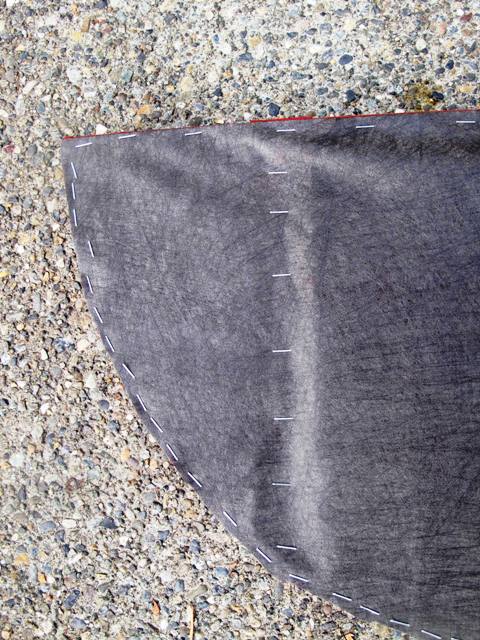
Debra the sedums look really amazing. Where i live i haven’t seen anybody growing sedums. I really liked the idea of closing the open end with a landscaping cloth and then filling it up with potting soil. But since you have kept the shutters in vertical position, when you will give water to it, wont that soil will flow out with water??
Hi Krysta, thanks for your note. The shutter really is “enclosed” with the landscaping cloth, so soil should NOT spill or flow out. I think success is mainly a factor of the low-water requirements of succulents, even winter-hardy ones like these. If I mist them with a light spray every now and then (and I mean 1x/month at the most), they will get enough moisture and the roots will soon stabilize any excess soil.
November 15th, 2011 at 10:02 am
This is a really cool way to repurpose window shutters. I have never seen this done before. Thanks for the idea.
November 16th, 2011 at 6:26 pm
Cool idea! There are so many objects out there that can creatively turned into cool planters. Love the red color.
November 16th, 2011 at 8:19 pm
Hi Debra,
What a fabulous project! The berry red is a perfect contrast to the succulents. That it already matches the trim on your house is a real bonus. I’m only sorry that you can’t gaze at the planters while you’re working away in your office!
November 25th, 2011 at 4:13 am
I have never seen shutters in any shape other then rectangle. These are beyond an amazing find. What a beautiful use as a succulant planter! I have only recently discovered you, which was through a search with my daughters while seeking inspiration and ideas on the re planting of the cutting flower garden next year. I CAN NOT WAIT until your book is available. I hope you do not mind my saying but I wish it was sooner so we could pour over it all winter as we plan out which seeds to buy. Would make for some most splendid winter evenings, reading by the fire together.
November 28th, 2011 at 7:37 am
HEllo Debra,
This is really amazing and the wow effect is very creative. It makes me amaze more about the shape and design. I love this one, Thanks for sharing.
December 11th, 2011 at 9:16 am
[…] are great for interesting garden ideas! Try to plant shutters with them: http://bit.ly/vMLEWuTwitterFacebook […]
December 11th, 2011 at 12:50 pm
FANTASTIC! love the red color.
January 5th, 2012 at 11:20 am
This is so cool except, dang it, where am I gonna find these shutters! 🙂
February 9th, 2012 at 7:14 pm
These are really great! Thank you for showing us the back so we can see how you applied a backing. When these grow out it will look so awesome. You could stuff some sphagnum moss in also to keep the dirt from coming out when you water.
February 29th, 2012 at 6:05 am
What a great idea – I am a big fan of out of the box thinking when it comes to landscaping and I think these shutters fit that bill.
July 21st, 2015 at 7:00 am
[…] planter with a how-to by Debra […]